Critical Introduction: Top 10 Actions For Roof Covering Setup
This will guarantee you always have an accurate concept of your roofing system's problem, and it will assist you nip damages in the bud with minimal fixings. These are simply a few examples, and as we stated, the setup procedure can differ drastically relying on what sort of roofing you get and the brand name that manufactured it. If you aren't educated to install the roofing you're making use of, you're likely to mount it a minimum of somewhat wrong. Talk to a roof expert or referral producer standards to make certain correct selection and installment of felt paper.
- You install the underlayment initially, after that the base flashing, and the home siding and tiles on the top.The details provided on this site is for general informational functions only and is not meant as legal, economic, or professional recommendations.While DIY roof can be rewarding, it's necessary to identify when professional assistance is required.Embarking on a do it yourself roof task can be a difficult task, yet with the ideal guidance, devices, and products, you'll be well on your means to an effective task.
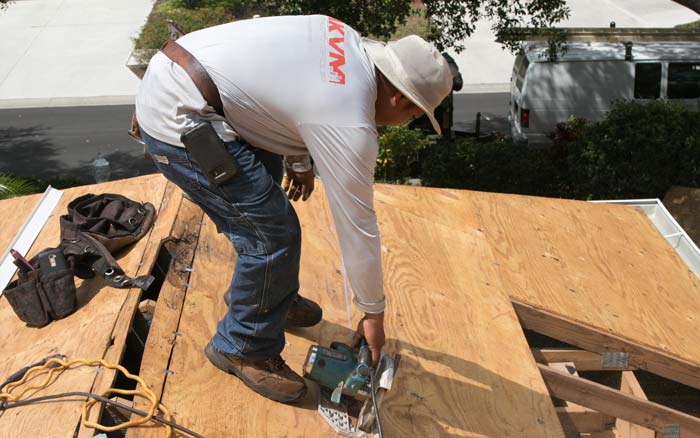
Begin by laying the very first row of roof covering product near the bottom side of the roofing, ensuring it is perfectly straightened and safeguarded. [newline] Overlay successive rows according to manufacturer instructions to make sure proper alignment and securing. After the brand-new roofing is installed, the specialist will certainly tidy up the workplace, eliminating any kind of particles and old roof covering materials. They will certainly also execute a last assessment to ensure that whatever is installed properly and fulfills quality criteria. This is a good time to address any kind of final inquiries or concerns you might have.
Making the button to Additional hints solar power is a big decision, however it's likewise an interesting one! At Infinity Solar U.S.A., our team believe in making the solar setup procedure as smooth and clear as feasible. From your first consultation to the last inspection, we direct you through every action to ensure you feel great and educated. Proper blinking around chimneys, vents, and various other outcroppings is important to prevent leakages.
Mount Valley Blinking
Arrange normal examinations with a qualified contractor to examine the condition of your corrugated steel roofing, determine prospective issues, and suggest solutions. Along with the corrugated steel panels, you'll additionally require to mount flashing around the roof penetrations, such as chimneys and vents. Flashing is a metal material that aids to maintain water out of the roof covering. When all of the corrugated steel panels have been set up, https://ameblo.jp/arthurnuxj398/entry-12901528819.html you can trim any type of excess material and install the ridge cap. The ridge cap is a steel piece that covers the top of the roofing system and aids to keep water out.
Using Starter Tiles
Rubberized asphalt is a self-adhesive underlayment that is made from asphalt and rubber. Nevertheless, a hybrid wiring strategy will likely be needed to optimize performance for huge photovoltaic panel varieties of four PV components or even more. The majority of makers' guidebooks will provide you with a number of alternatives in a tile or shake securing pattern. If you have trees near your home, make certain to trim any branches that hang over the roof.
Detailed Guide To Setting Up A New Roofing System: Throughout
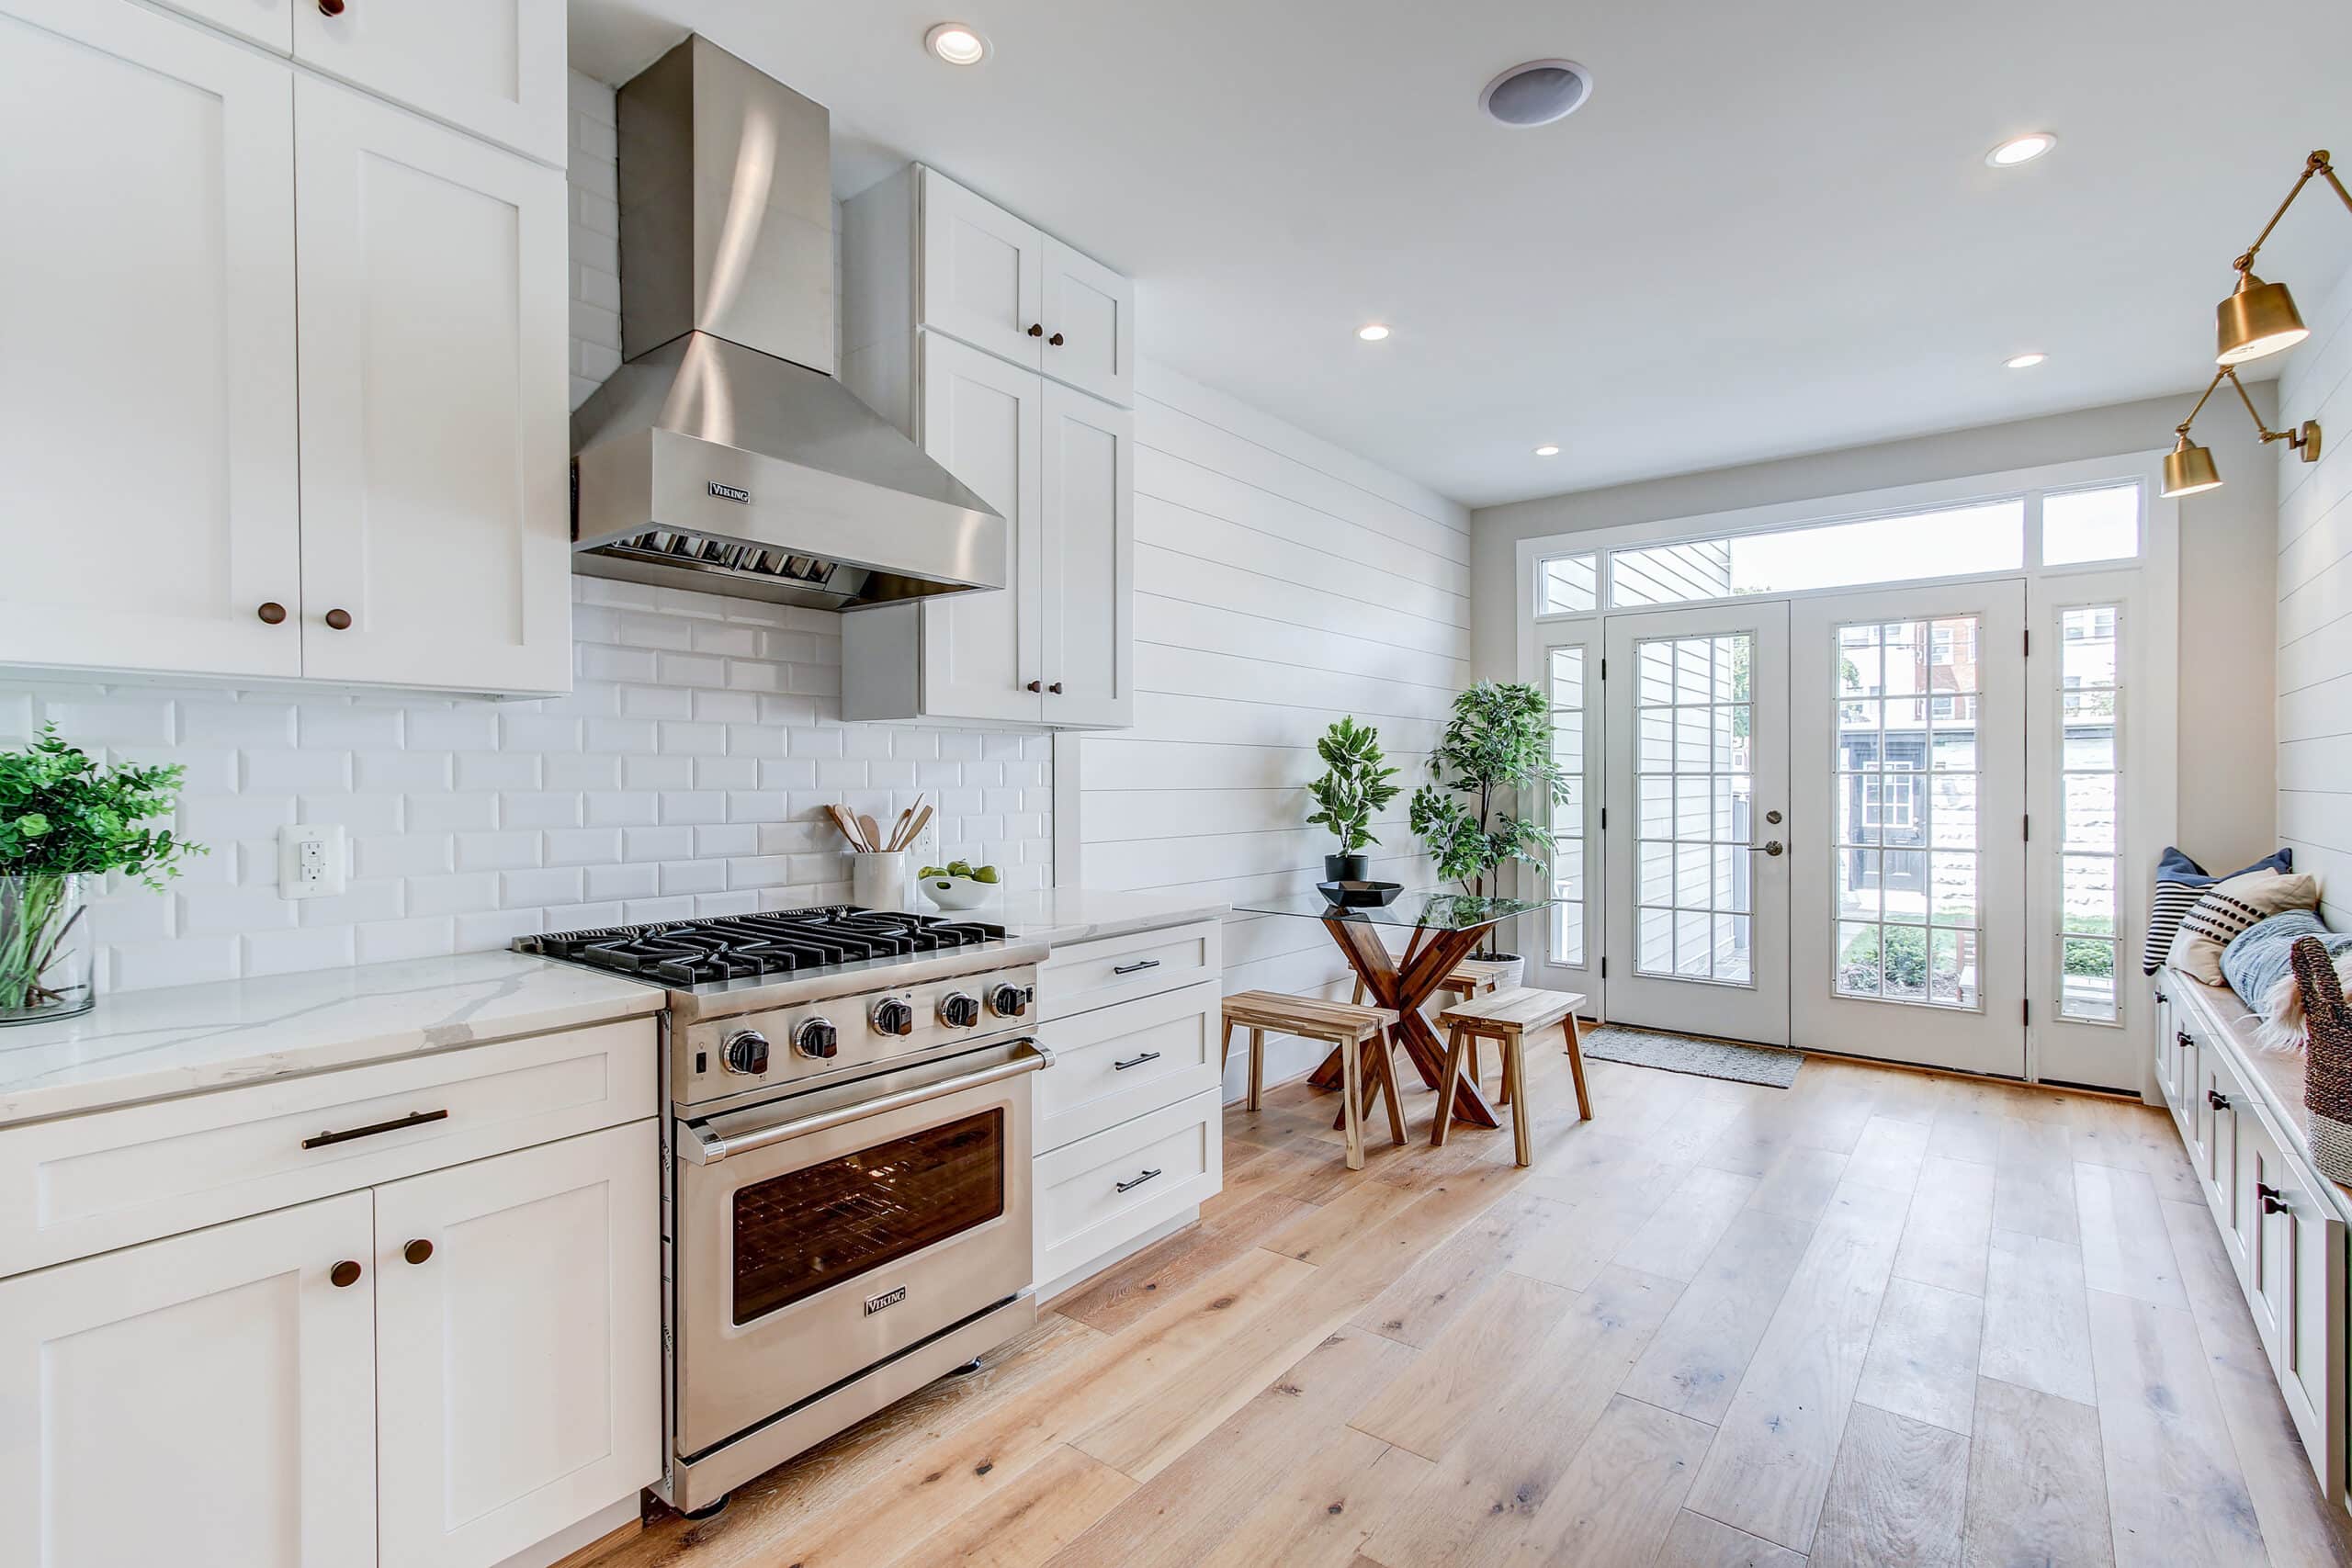
Begin by considering your spending plan and the sort of roofing system that will function best for your home. Some options include asphalt shingles, steel, wood shake, slate, or tile. Take into consideration elements like sturdiness, energy efficiency, and aesthetic appeals to find the ideal suitable for your home and budget plan.
Next, the steel panels will be set up into the roof covering, making certain correct overlap dimensions are maintained. It's ideal to entrust your steel roofing services to a knowledgeable roofer. Before job begins, your specialist will normally deal with acquiring the essential permits for your roofing project. Make a 1 to 2-inch cut with tin cuts at the bend in the primary step blinking. Run a grain of sealant on the corner side of the dormer flashing, and afterwards run that step flashing past the dormer blinking the exact same range you made your cut. With your hammer, bend the step flashing around the corner onto the dormer blinking. Begin by running self-stick underlayment a minimum of 6 inches up onto the wall surfaces. This supplies an added barrier if water does get past the blinking.